Saturday 3 March 2012

March 2012 update

Well its been an age since i last posted any progress with the cobra ive been moving to a new workshop so time has been at a premium.

 I started back working on her about 2 weeks ago so my main plan now is to get her ready to paint which means fitting all the bits that fit on the body like the windscreen  lights and door catches etc etc. i also wanted to have internal boot hinges so i have had to make all the hinges for that job as well.


 This was my first attempt at internal hinges unfortunatly it failed miserably basicly the front of the boot caught on the body so back to the drawing board.

 This was what i eneded up doing after many conversations with other folks in the car building trade it became clear the trick was to get the pivot point as high as possible.
 I ended up making a u shaped braket with some lugs to take suitable bolts i then welded that to the seatbelt posts in the boot of the car.
 having already bonded the metal plates required into the boot its self i just had to attact them

 This picture shows the bracket the lugs and the bolt


 The next job was to fit the side pipes im making them from a second hand silencer and mandrel bends for the rest.

Cutting the hole in the body


The best bit the comedy picture with a brew

Saturday 6 August 2011

August update

July Has been a great month it`s been my birthday and my wonderful wife and family bought me some great gifts for the cobra. my wife found me an old motalita wood rim steering wheel from around 1985 brand new but it has been sat in an office for all that time so its kind of bleached the wood looks great, the girls also bought me a gear stick from Europa , I've also finished the gearbox tunnel so it was great to get the steering coll um in to fit the wheel and plonk the gear stick on.


The next job on the list was the pedal box i really didn't like the design of the dax one so i decided to fit a race style pedal box but of course it also needed some perfecting as you can see from the pictures i cut down the pedals as they were too tall. added a left foot rest and put some extra strengthening along the front. and also fitted the ac pedals ( i think they will have to come off for the IVA Test) but they do look great


  also managed to get the steering collum fitted and welded up so the steering now works unfortunately the steering collum has a slight bend in it so i will have to find a new one before the test what a pain but it was cheap i should have asked more questions i think.


 still more to go this time like i say been a great month for the build. Now that the mechanical parts of the chassis and body are fitted i have decided to start on with getting the body prepared ready to paint i plan to do this over Xmas this year so I've got a few months now of fitting doors and filling in holes and getting door gaps perfect, i have made a start today on the doors i have got both sides fitted bit of a pain job but not too bad in the end. I'm really glad you wont see the hinges in the finished product they would be perfect for a tractor. LOL


 That's it for this build update next time i should have all the panel work on and i will be filling and sanding now till the cows come home. (off to Prescott hill climb tomorrow to watch the VSCC members race up the hill)

Friday 8 July 2011

very excited update

Had a bit of an exciting day today. the webbers arived for the engine although im not ready to build the engine yet i did need the gear box and engine back in the car so the wiring can be finalised and to see if the bonnet fits and all the plumbing so this afternoon i have quickly thrown the engine together and got it back in the car.
  enjoy the pics i think they look great


Thursday 7 July 2011

May 2011 Update

Well What can i say its already may, time just disapears when your having fun. its has been a rather hard month on the build front i have spent the entire month well saturdays anyway cladding out the engine bay as you can see i had to get the team in to get the job done.

 Below is a selection of pics to bring you up to day


 Emily helps with the engine bay


Now that the engine bay is finally finished its time to move onto replacing the gearbox tunnel, i have decided to make it completly removable so i can get to the gear box and rear brakes and diff if i ever need to.
 As you can see below i have droped the gear box back in so i can line up where the shifter comes through


Well thats all for now will be back soon with another update 

Sunday 24 April 2011

April build update 2

Back again for another update had rather a productive month, after altering the body to suit the new vents i have been working on the engine bay so that i can fit the vents in properly. i am in the very fortunate position that i have access to an original cobra from time to time so i am able to take plenty of pictures and just make sure I'm being as correct as possible unfortunately the car is a MK 1 with a Ford 289 but still has many of the same features as the later 427 that I'm trying to recreate.
 As you can see from the picture below the top of a cobra foot well is white and is made of fibreglass my next job in the engine bay was to recreate this.  

Real Cobra Engine bay


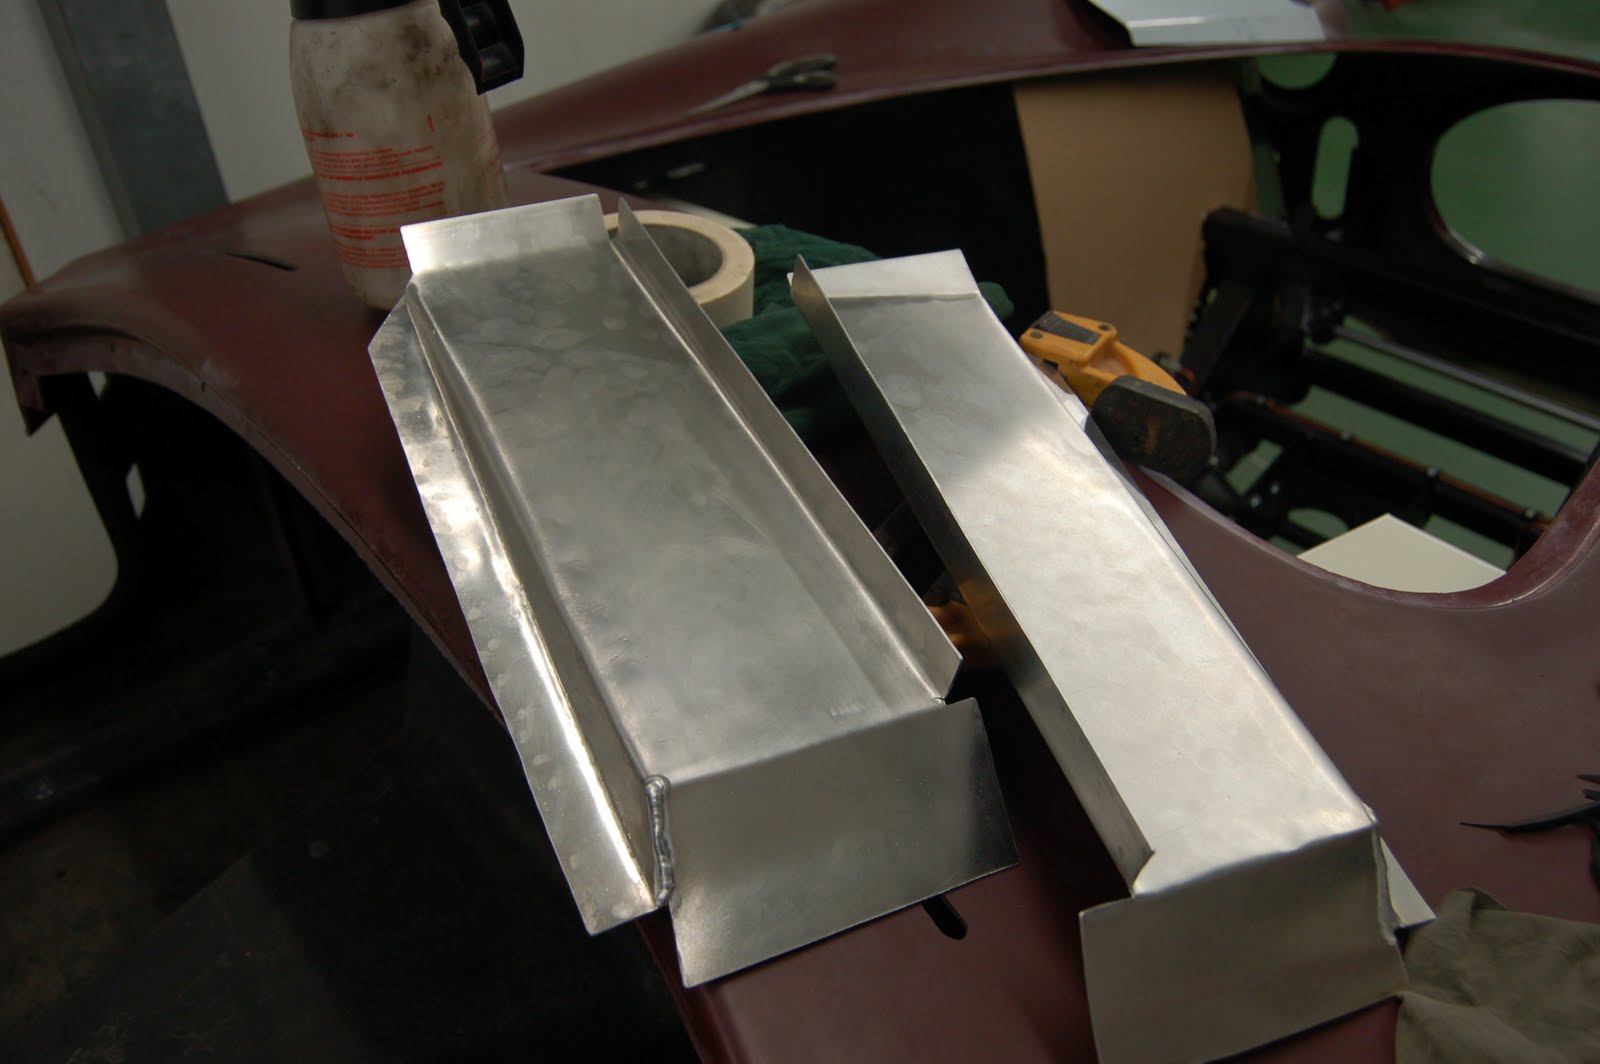
Unfortunately the dax footwell is not sloped as it is in the real thing but i can at least get the right look with in reason, the gel coat on my body was in no way good enough to just paint white so i had to make some aluminium panels to go on to the top and then give them a lick of paint.

The panels in primer

The finished items


Hopfully as the engine bay progresses with the aluminium cladding as it were, they should begin to look as close as possible to the picture above of the real thing, I even intend to fit a reproduction chassis plate.

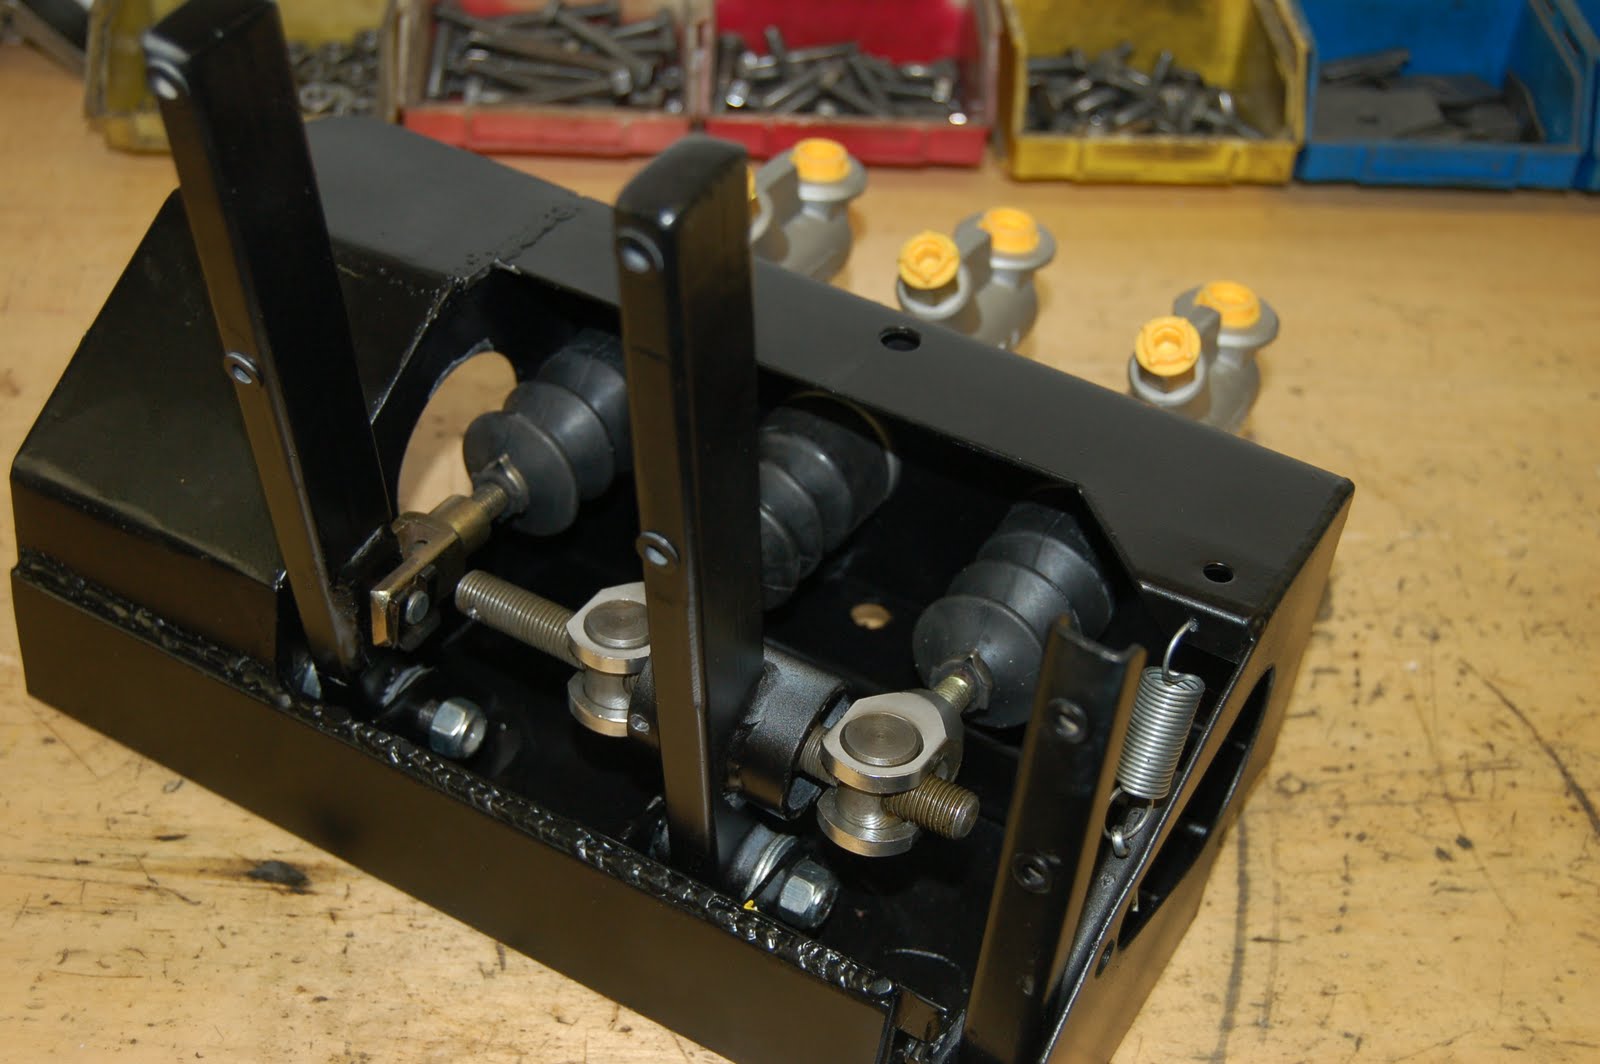
 The next stage was to make 2 cover plates to go over some extensions in the side of the footwell pod the reason they are there is so the top of the foot well can be angled to give a little room for the headers i think but anyway another of those really tricky jobs but i think the out come will be really nice when the panels are fitted over the top and riveted into place .

The panels ready to go in the car

The finished item

 As you can see a small amount of welding was required on these panels but most of the rest will be riveted just as an original would have been.

 Time to get started with the main panels in the front of the engine bay now this will be a long process as i will have to make templates for all the panels as I'm going along then cut the aluminium then fold it shape it glue it with tiger seal and then finally rivet the panels together.

Template being made

The first of the panels gos in to the car

The finished passenger side

The finished drivers side

 I think so far this looks really great a huge amount of effort to make all these panels,you can buy them from dax but 1 they are stainless so not correct cobras were aluminium and 2 they cost £560 plus vat. so far i have bought 2 8x4 sheets of 16 gauge aluminum delivered with the vat was only £117 quite a difference and i think the effect of the rivets is awesome .

 i plan to get more panel work done this Friday so i will try and get another update done asap

April Engine update


Very exciting my new well second hand heads have arived and the very butiful inlet manifold ready for the quad IDA Webbers carbs. Cant wait for the rest 


April Build update


April Already i don't think I'm going to be finished by the summer. LOL

 Now that the body is on the chassis and all glued and bolted down its time to get on with fitting out the car i am starting with the outside getting all the doors fitted bonnet boot side vents and so on, this is so that all the holes can be cut in the fibre glass,  then as I'm going along i can put the aluminium paneling over the top to create the look I'm wanting, although i will be concentrating with the out side I'm going to be lining out the engine bay the boot and the gear box tunnel as part of this stage.

 Below is a picture of the two side vents i have bought they are a recreation of an original set of vents made/sold by Europa spares i decided that i didn't like the dax option so i went for the more original look.

Cobra side vents


Vent opening

As you can see from the picture above dax have very nicely shaped an opening for you to fit a stainless item straight into but as i have already said i decided i liked a more original look.


To be able to fit the new vents I had to cut out the return from the fibre glass and then add some new fibre glass to make the hole 2/3mm smaller.
  This was made even harder by the two sides of the body not being equal inside the engine bay so on one side i have had to cut out some of the wheel arch and on the passenger side i have had to cut away some of the foot well so a few repairs will have to be done the strengthen the body back up before the IVA Test.


The next stage was to use some filler to fill in the gaps both on the inside and out that the fibreglass doesn't get perfectly smooth, at this stage it is worth noting that i needed to sand both inside the body as well as the out side,the aim is to get a very thin area for the vent to sit in side of the body, because I'm trying to get an original look it was important to remember that the real cobras vent were fitted in much the same way but they were up against the inside of an aluminium panel not a fibre glass one it is there for impossible to get the fibre glass as thin as the aluminium would have been but you can get a reasonable finish if you take your time.
 using a template to mark out where the vent will fit and of course the size the hole need to be taken out to leaving just enough so the vent sat just nice and flush with the inside edge.


Finished hole ready for paint

All primed up ready for the vent.


 Vents are finally ready to be fitted they will eventually be held in place by the panelling in side the engine bay, as I'm sure you will agree i think they were worth all the hard work they look awesome and when they are painted i think they will look even better.